Managing users and groups
Invite the people in your organization to the Merchant Hub and use groups to decide which views and which stores each of them can see.
Before you start
- Open Manage Organization. Select your name in the top right and pick it from the menu.
- To invite users, you need the Access Management permission.
How access works
- A user belongs to one or more groups and gets the combined permissions of all of them.
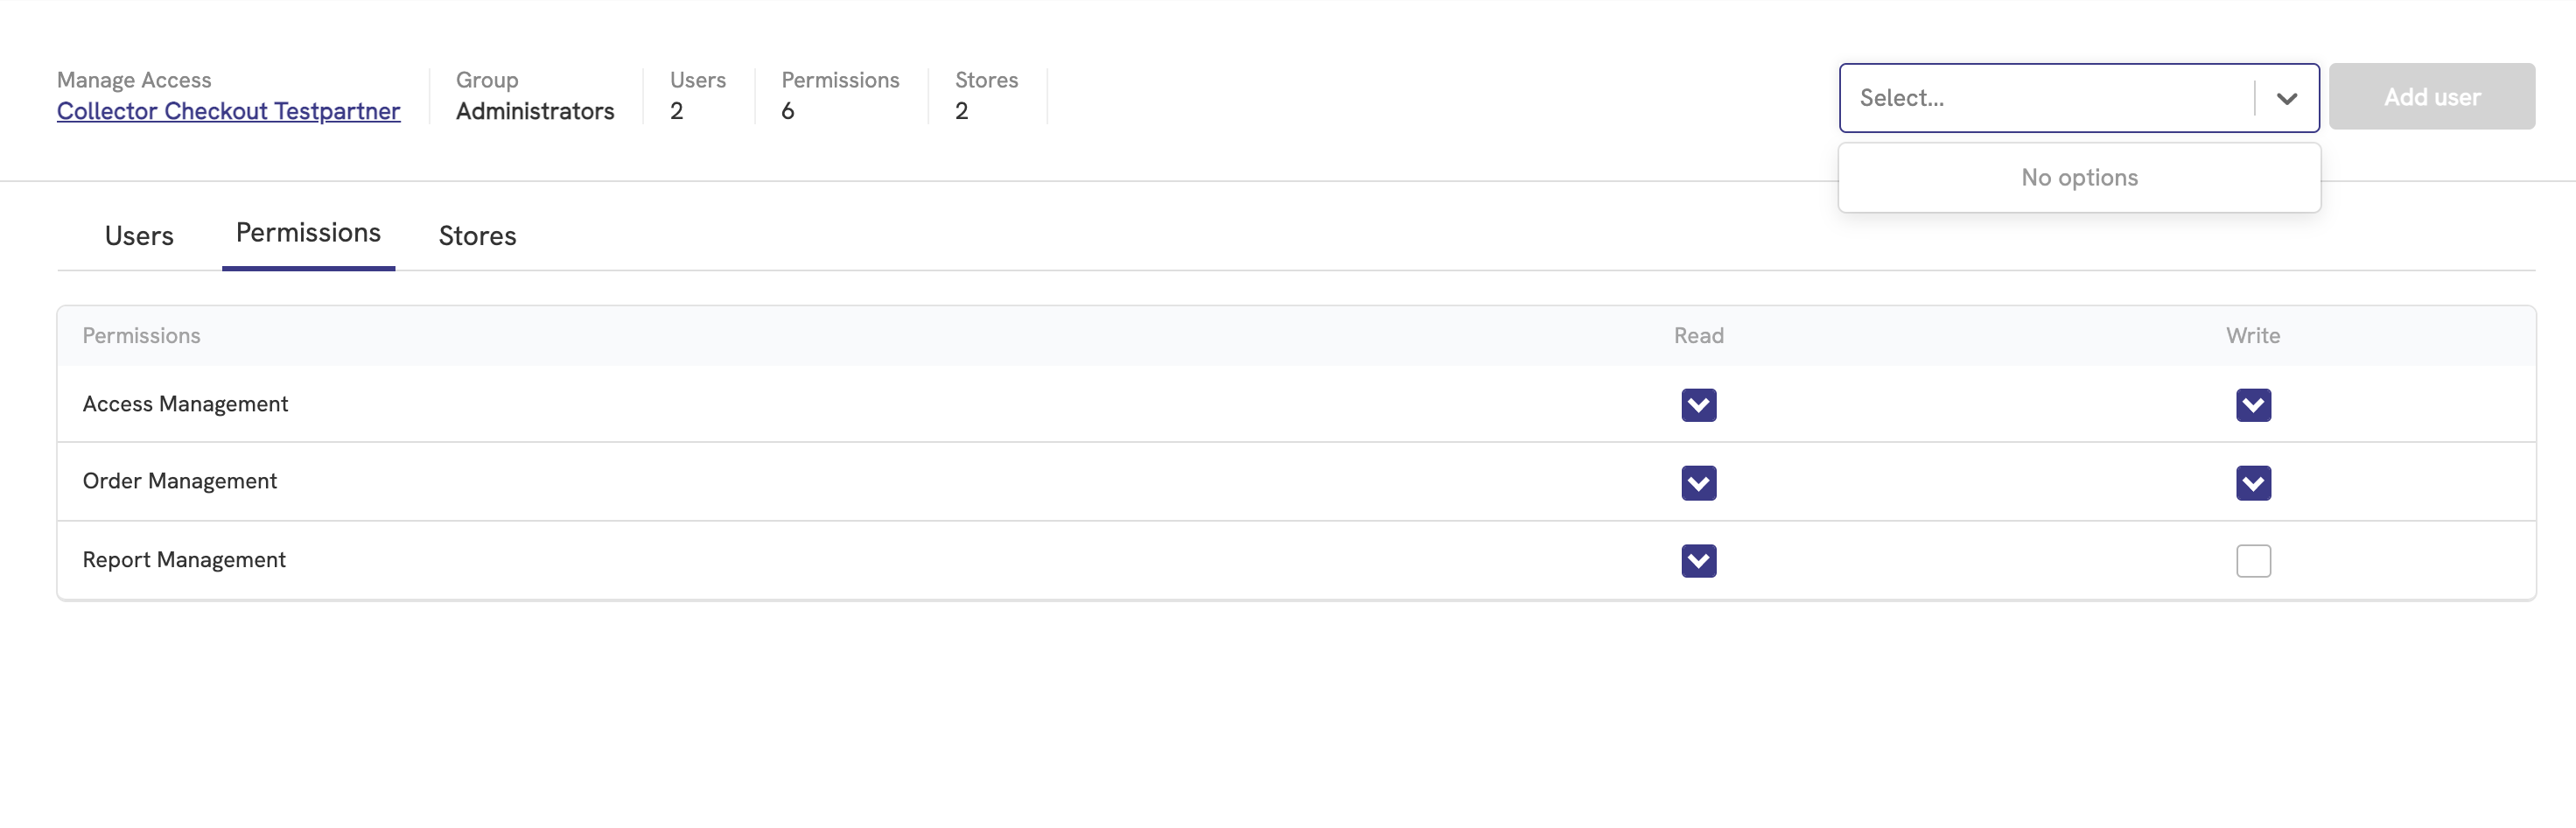
- A group's permissions decide which areas its members can use. One group might have read access to orders while another has read and write access.
- A group also decides which stores its members can see. Users who need both B2C and B2B stores can be members of both groups.
The permission areas are Access Management, Order Management, Paylink Management, Report Management, Api key Management, Webhook Management, Store Management, Dashboard Management, and Developer Logs. Each page in this section says which one it needs.
Invite a user
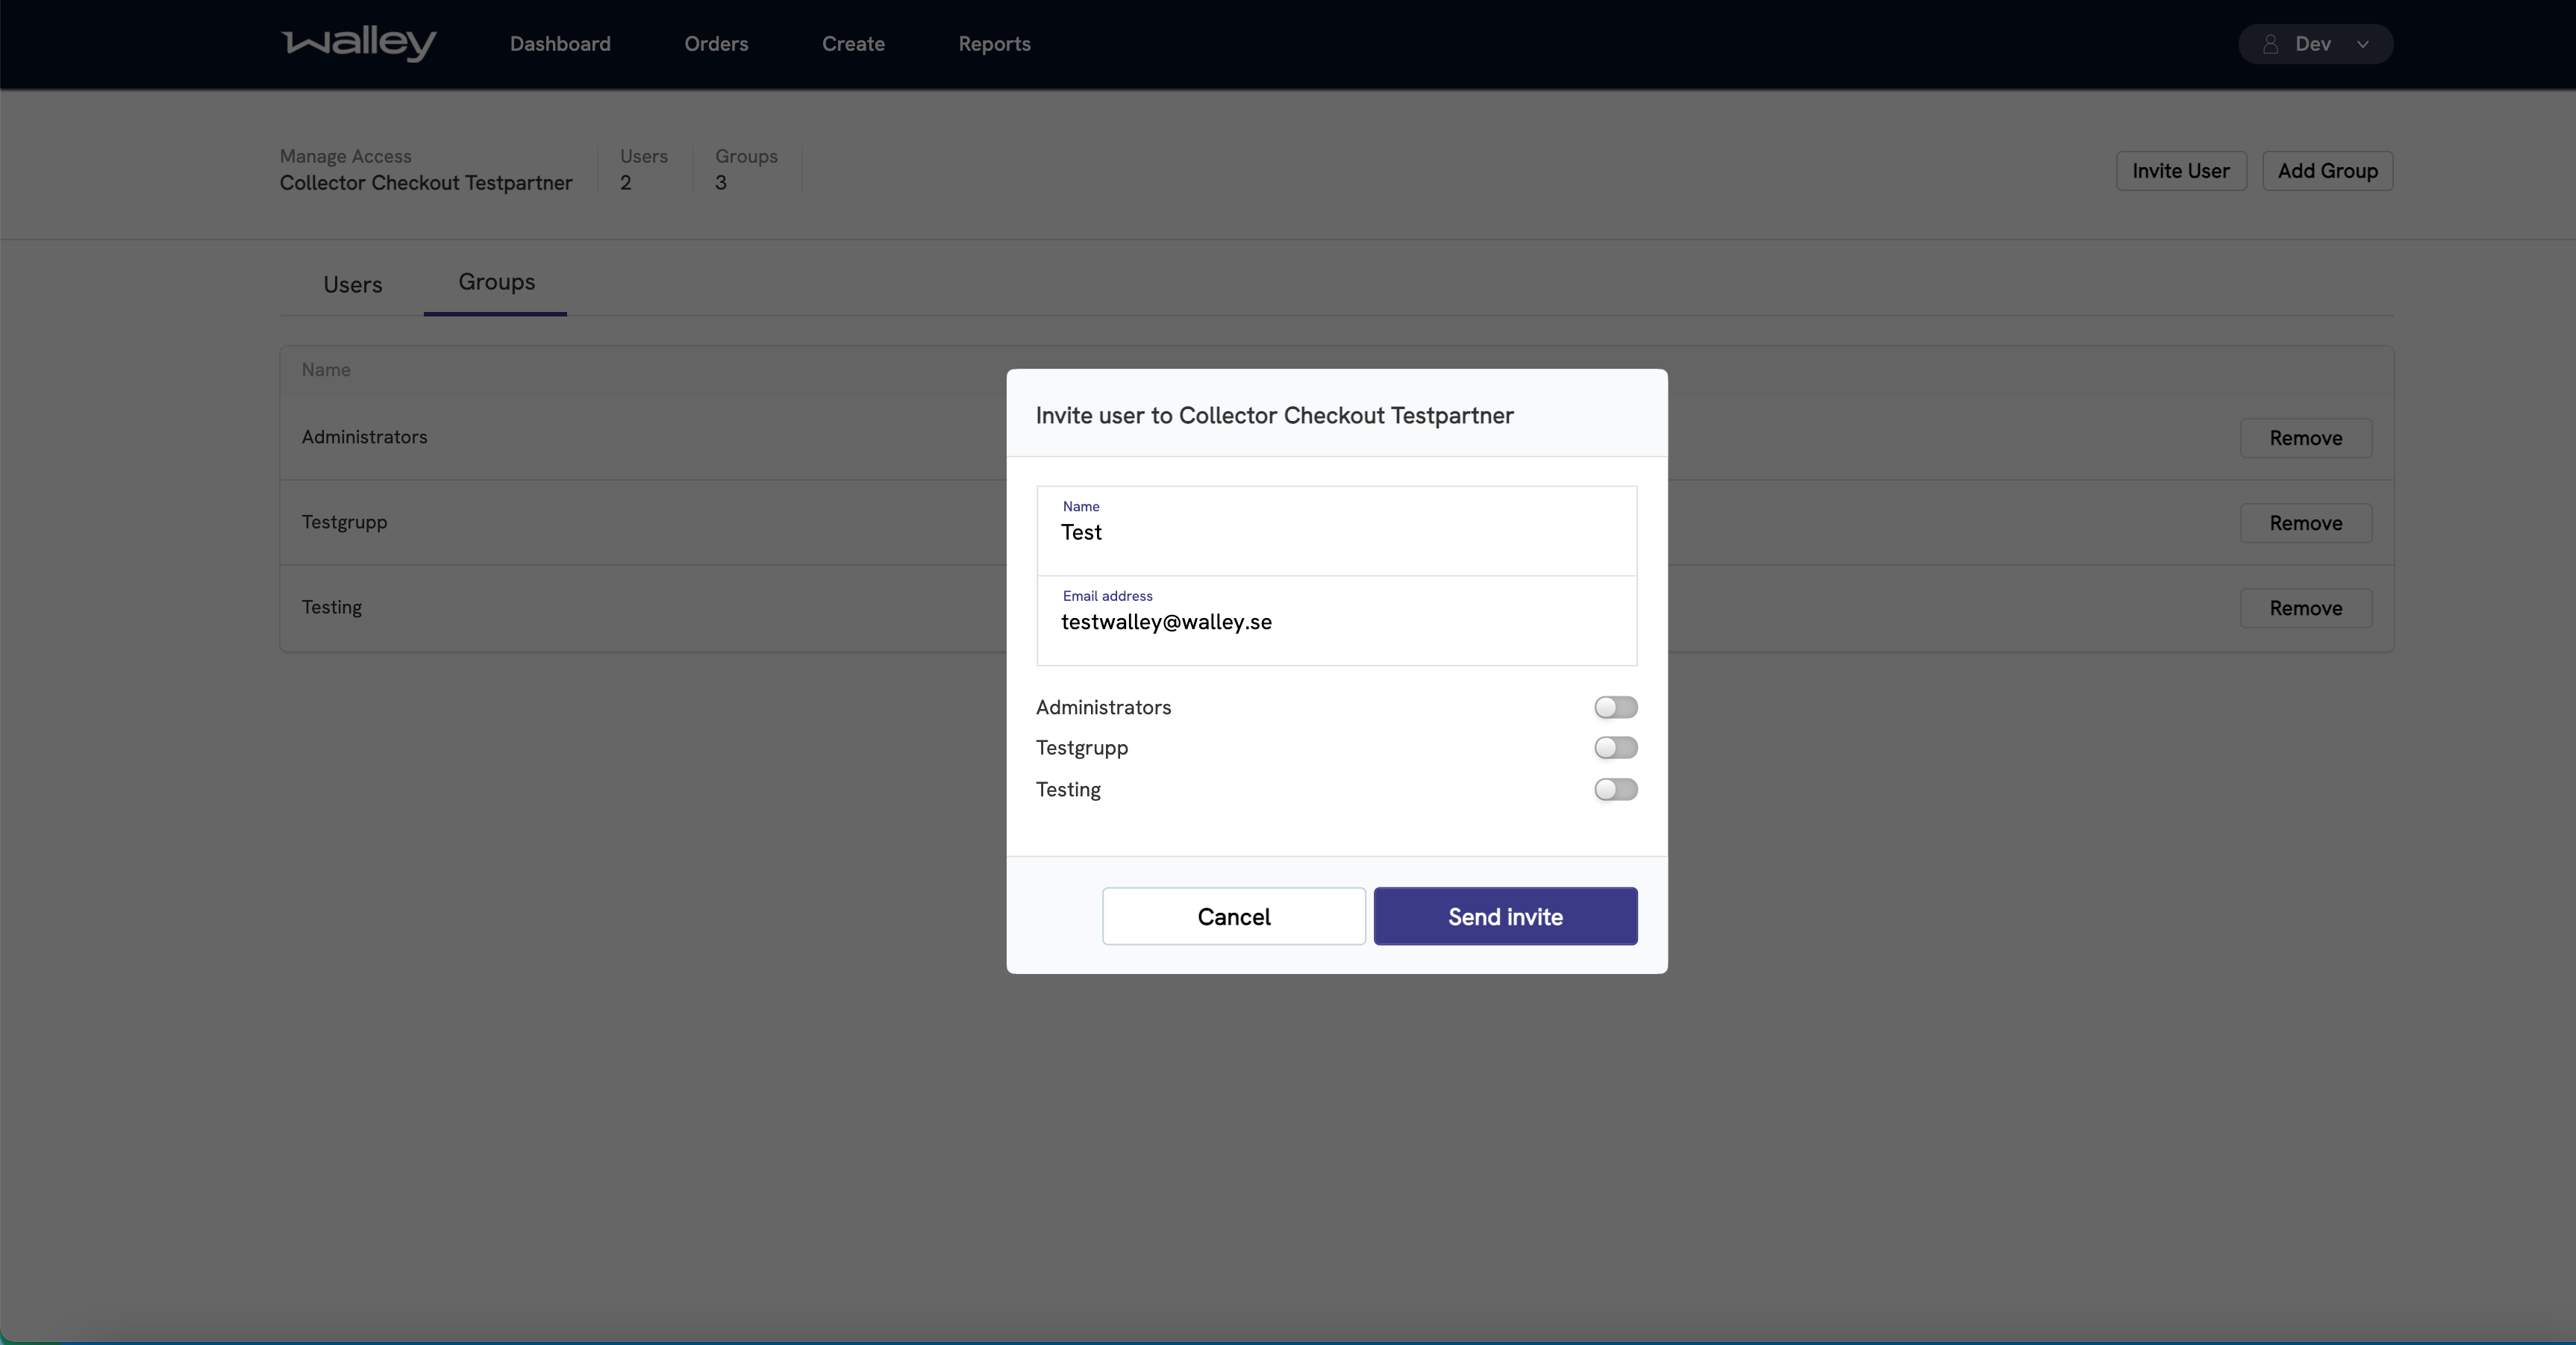
- Select Invite user.
- Enter the person's name and email address.
- Choose the group the user should belong to.
- Select Send invite.
The person receives an email with a link that is valid for 7 days.
Resend or delete an invite
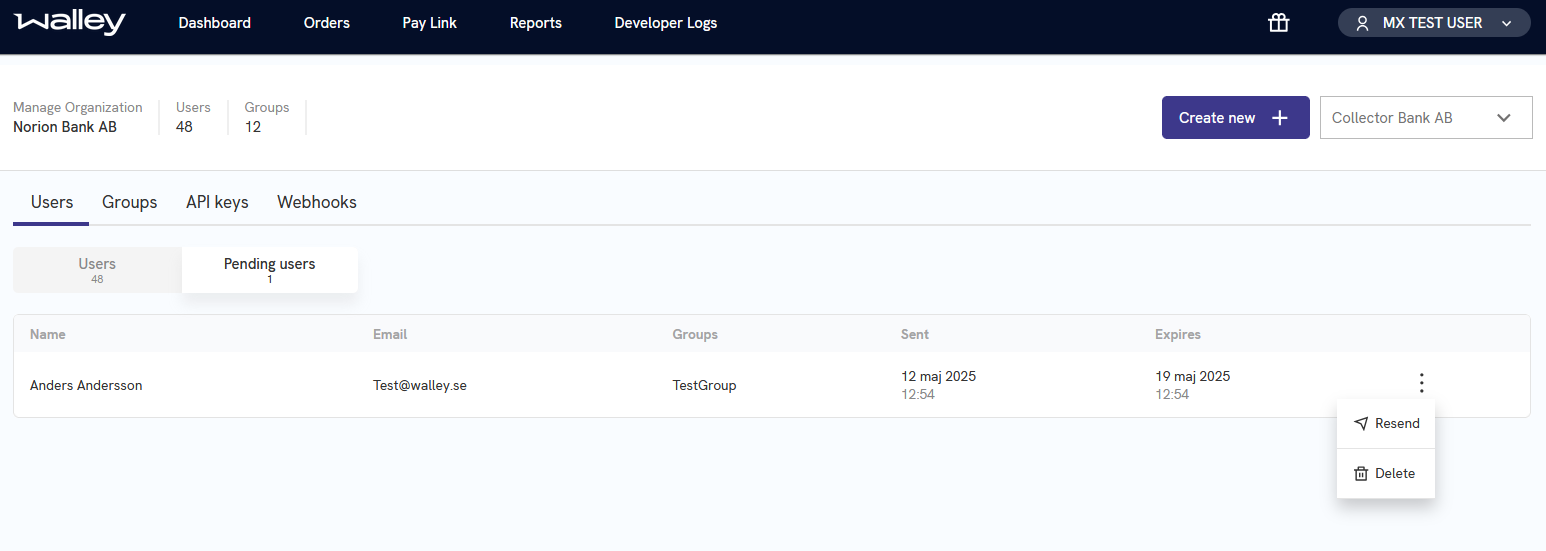
Pending invites are listed under Users on the Pending users tab, together with their expiry dates.
- Open the action menu on the right side of the row.
- Select Resend to send the invitation again, Copy invite link to share it yourself, or Delete to remove it.
Create a group
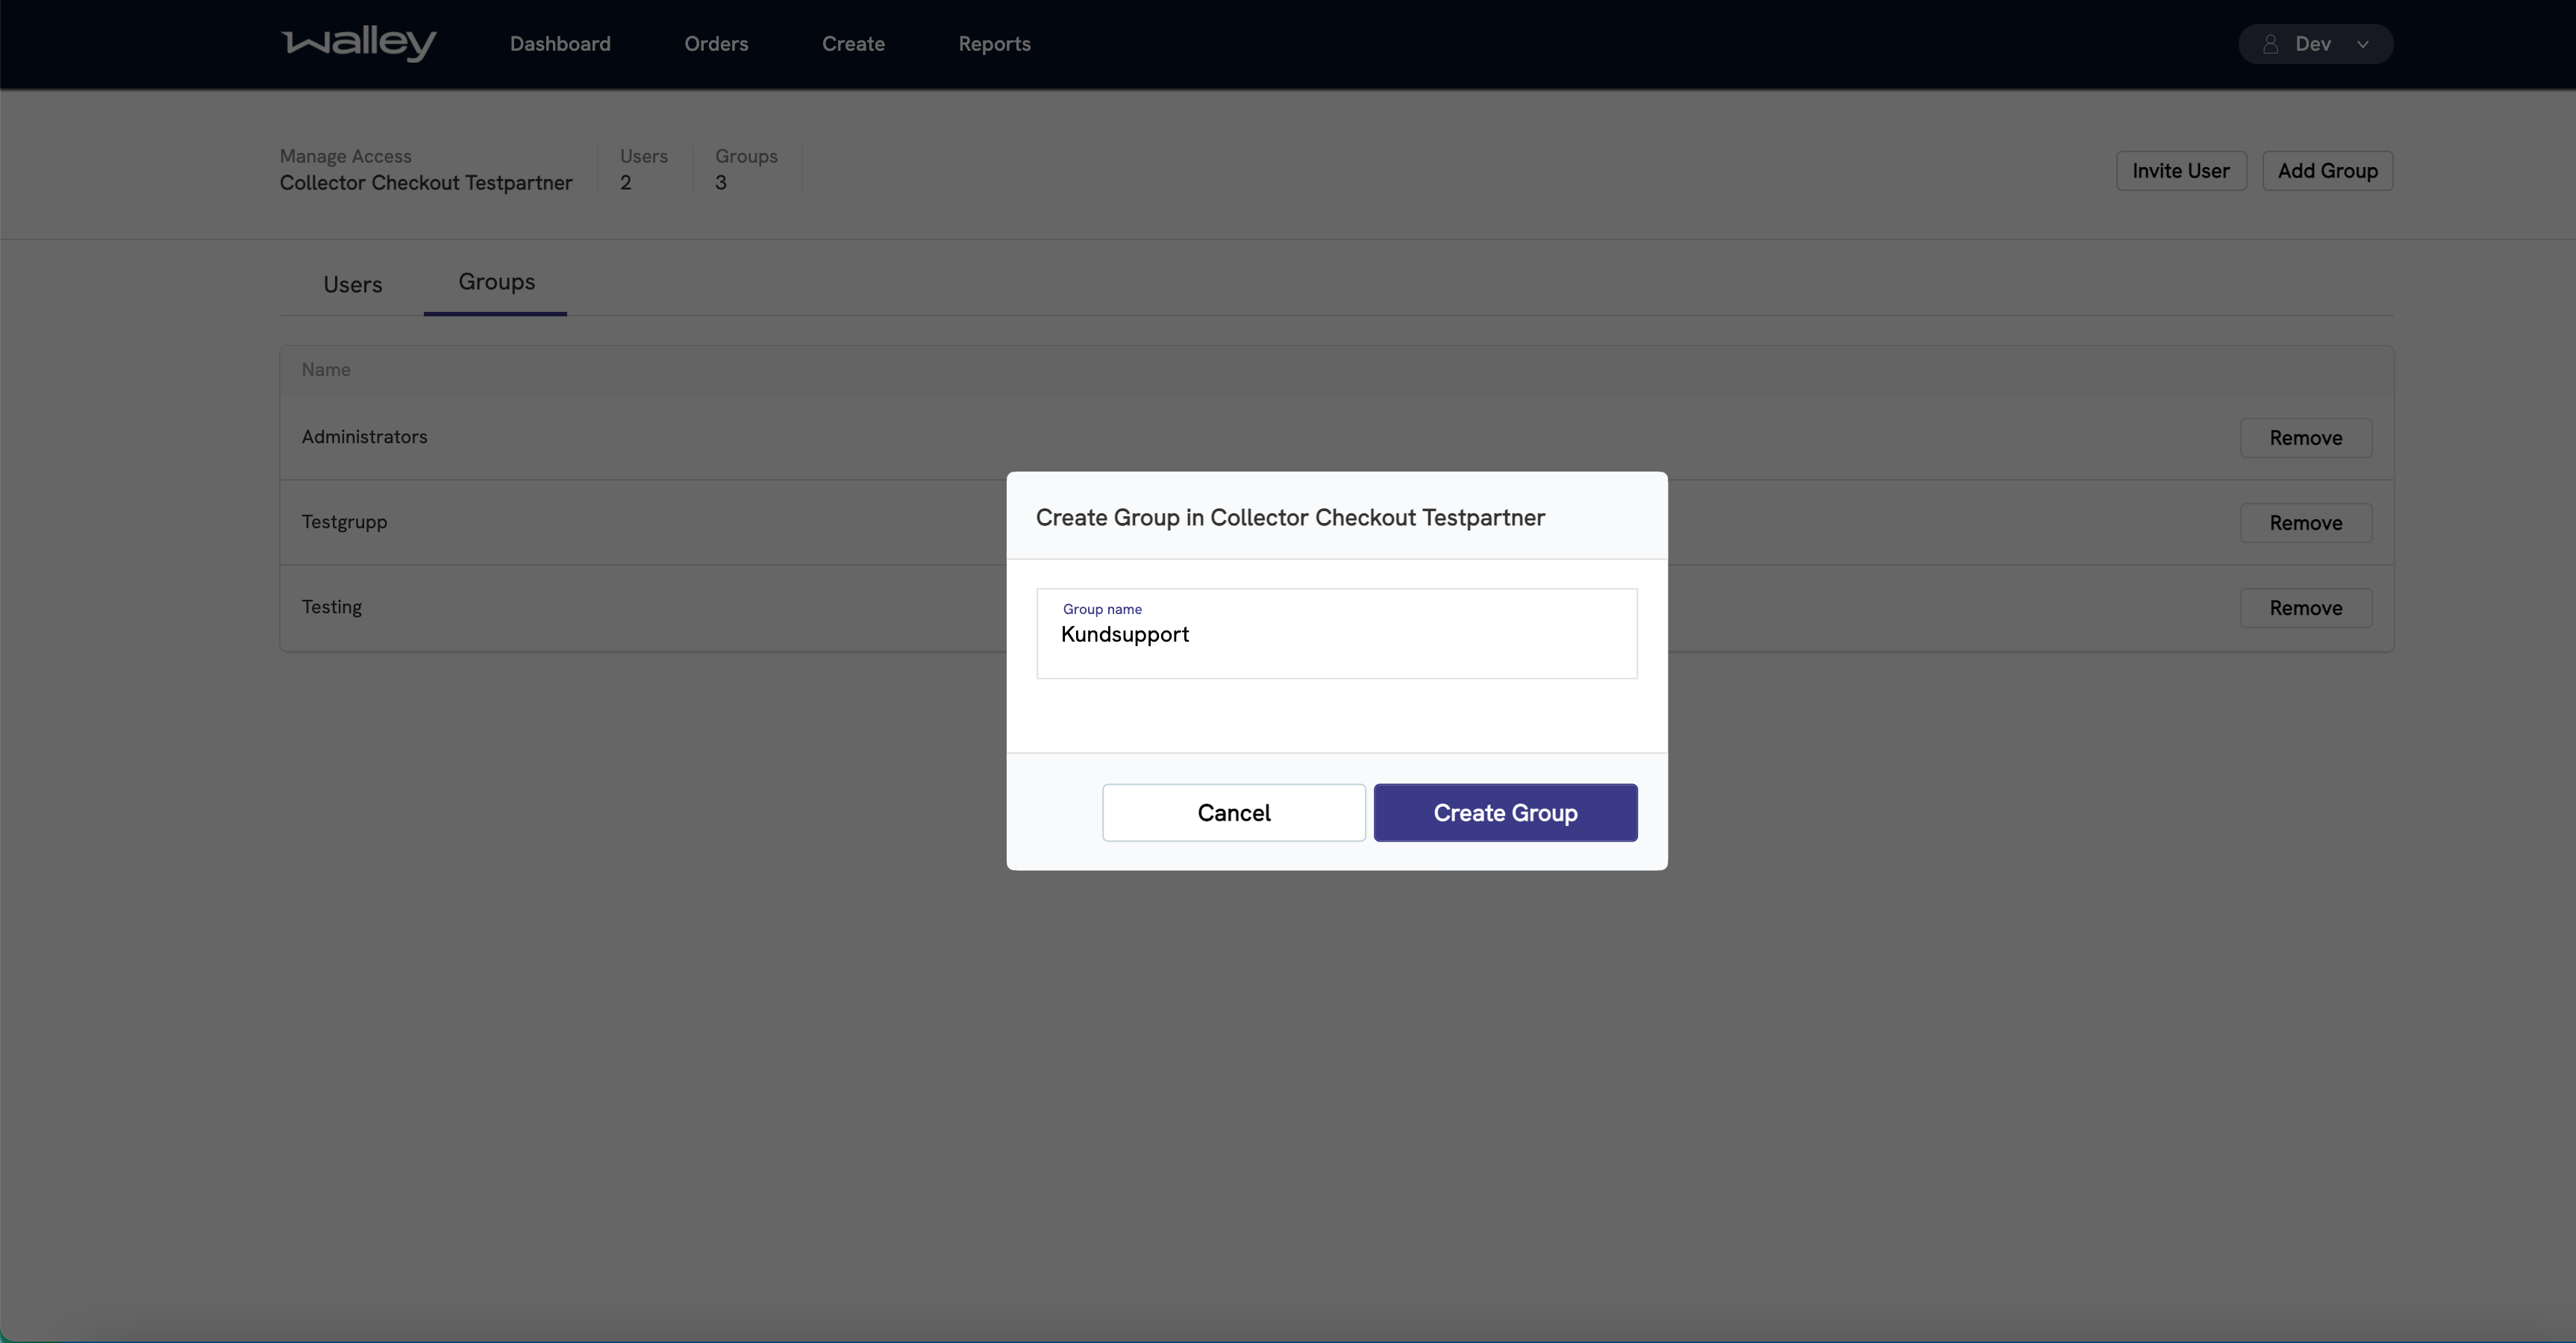
- Select Create new and then Group.
- Enter a name for the group.
- Select Create Group.
- Select Set Group Permission.
- Tick the permissions the group should have.
Add a user to a group
Only users who have accepted their invite can be added to a group.
- Open the Groups tab.
- Select the group you want to edit.
- Choose the user in the dropdown in the top right and select Add user.